
How To Get Good Car Photos With WheelStage AI Editor
 AO from WheelStage·2 min read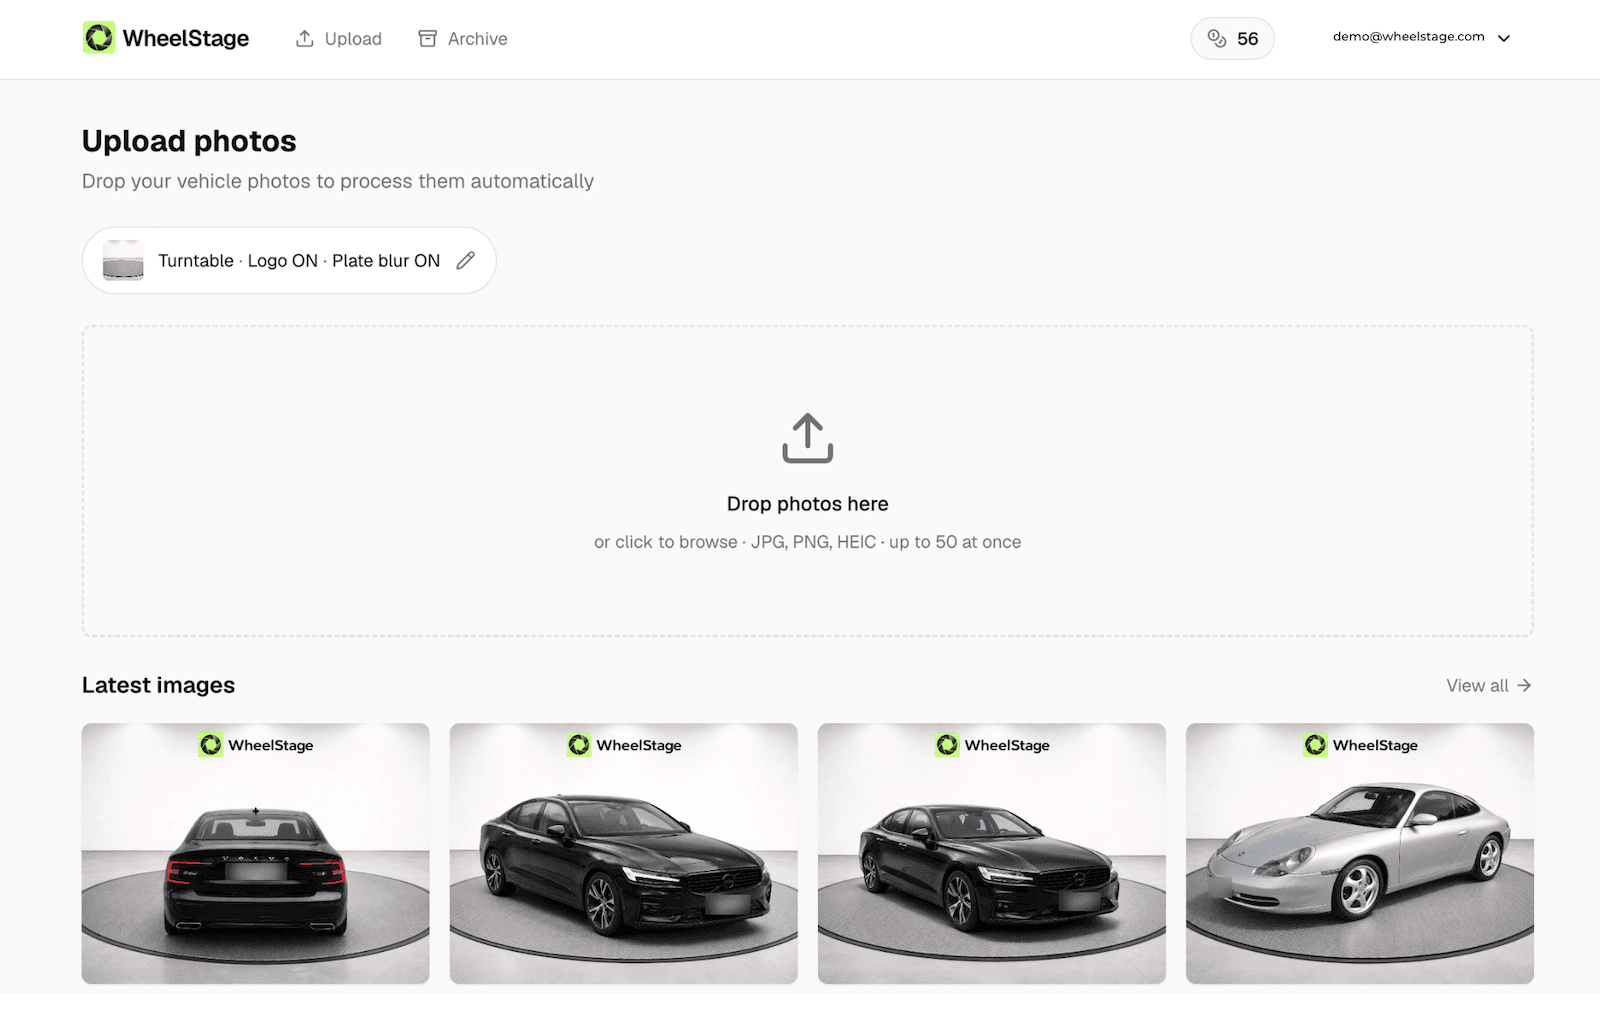
Your car photos are about to look amazing — and in order to get the most out of WheelStage, we compiled this short checklist on how to achieve the highest quality results with our product.
While you can always choose to regenerate any given shot, the best output starts with a properly shot reference photo. It might seem obvious, but keeping a few things in mind each time you photograph a car will make a noticeable difference in your processed images.
The WheelStage Photo Checklist
To ensure the best possible quality for your car images, follow these guidelines when taking photos that you plan to upload to WheelStage.
1. Ensure optimal conditions before shooting
Before you take the photos you plan to upload, make sure that conditions are neutral. The car should be clean and presentable — rain, snow, or other debris in the air or on the surface will lead to lower quality results.
It's also a good idea to minimize reflections in the car's windows and body panels. Our model automatically detects and corrects for strong reflections on the car's surface, but starting clean always helps.
Quick tip: Overcast days are ideal. Soft, even light with no harsh shadows gives our AI the best starting point.
2. Make the vehicle the center of attention
When taking your photos, make sure it's clear which vehicle is being captured. On a busy parking lot, position the car in the foreground and in focus — not competing for attention with other vehicles or clutter.
This applies to any environment with a busy background. The clearer the subject, the better the processed image.
3. Capture details clearly
Make sure any details you want carried over to the processed image are clearly visible. Blurred or partially showing details are harder for our model to detect and can be missed during processing.
For example, front or rear shots where the car's badge or logo is visible should be taken from an angle that displays the logo and text clearly — not at a steep angle where they become distorted.
4. Fill the frame with the car
Make sure the entire vehicle fits inside the image frame without being cut off. Get as close as possible while still capturing the full car — this ensures all details are picked up and the final image looks sharp and complete.
Quick tip: Stand about 10–15 feet from the vehicle at a slight angle for the best full-body shot.
5. Mix processed and original photos in your listings
Don't be afraid to combine WheelStage-processed images with original, unedited shots in your listings. If there is wear and tear — like dents, scratches, or cracks — that you want to show in detail, include original close-up photos of those areas for transparency.
WheelStage excels at producing attention-grabbing full body shots, but pairing them with honest detail photos makes your listings both attractive and trustworthy.
Ready to try it?
Follow these five tips and your WheelStage results will be consistently sharp, clean, and professional — the kind of photos that stop the scroll and generate leads.
Sign up today and get 5 free credits to try WheelStage with your own photos — no credit card required.

Written by
AO from WheelStage
Car owner and enthusiast, founder of WheelStage.